Butterflies are universally admired for their grace and beauty. In art, they symbolize freedom, transformation, and the fleeting nature of life. Drawing these exquisite creatures can be both a creative outlet and a calming activity. In this comprehensive guide, we’ll explore the techniques needed to create your own drawing:5dlmdowxula= butterfly. Whether you’re aiming for realism or something more abstract, the following steps will help you achieve your artistic vision.
The Artistic Appeal of Butterflies
Why are butterflies such a popular subject in art? Beyond their aesthetic beauty, butterflies represent a wide range of meanings across different cultures. They embody transformation, hope, and the soul, making them a powerful symbol in visual storytelling. The unique combination of colors, patterns, and delicate forms also makes them a challenging yet rewarding subject for artists. By mastering drawing:5dlmdowxula= butterfly, you can bring this symbol of beauty and change to life on your canvas.
Essential Materials for Butterfly Drawing
To create a successful butterfly drawing, it’s crucial to have the right tools at your disposal. Here’s what you’ll need:
- Sketchbook or Drawing Paper: A smooth, high-quality surface will allow you to capture fine details.
- Pencils: Use a range of pencils, from HB for light sketching to 6B for darker shading.
- Eraser: A kneaded eraser is ideal for lifting pencil marks without damaging your paper.
- Colored Pencils, Markers, or Watercolors: Depending on your medium, choose vibrant colors to bring your butterfly to life.
- Fine-Tip Pens: Perfect for outlining and adding intricate details.
These materials will serve as the foundation for your drawing:5dlmdowxula= butterfly, allowing you to focus on the creative process without worrying about technical limitations.
Finding the Perfect Reference Image
When drawing butterflies, using a reference image can greatly enhance the accuracy and detail of your work. Look for high-resolution images that show the butterfly from multiple angles. Pay attention to the wing patterns, body structure, and color variations. A well-chosen reference will provide you with the guidance needed to create a realistic drawing:5dlmdowxula= butterfly. Websites like Pinterest, Google Images, or even nature photography books are great sources for finding inspiring butterfly references.
Understanding Butterfly Anatomy
Before diving into your drawing, it’s essential to understand the anatomy of a butterfly. This knowledge will help you create a more accurate and convincing representation.
Exploring Wing Structure
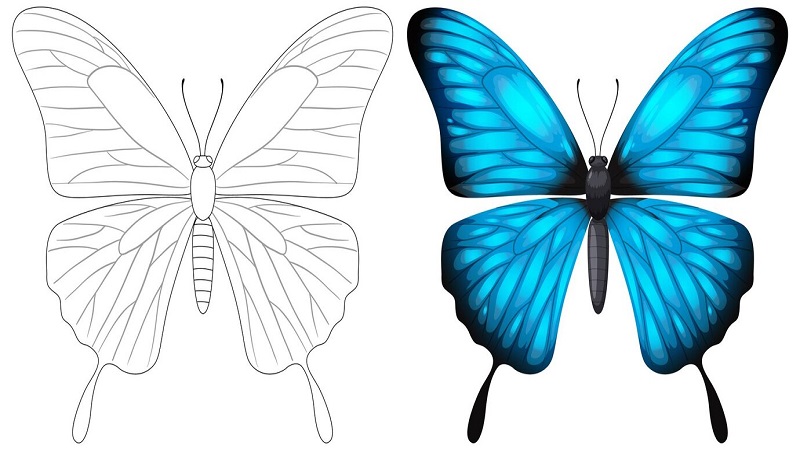
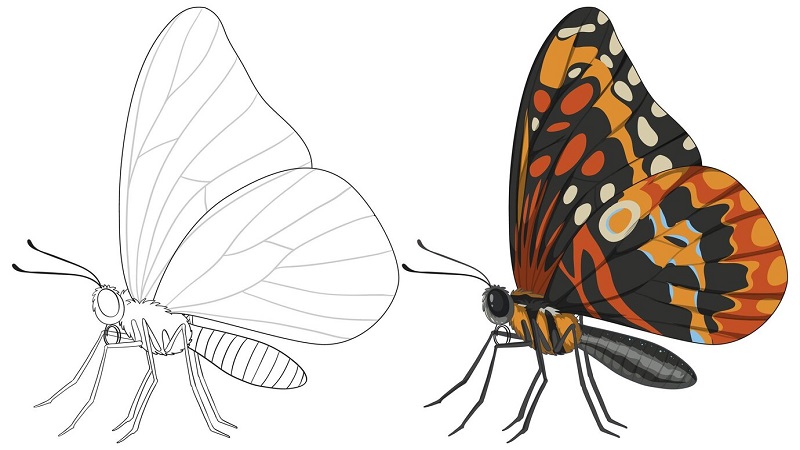
Butterfly wings are divided into forewings and hindwings. The wings are covered in thousands of tiny scales, which contribute to their vibrant colors and intricate patterns. These scales overlap like shingles on a roof, and understanding their placement will help you replicate the texture in your drawing. Additionally, butterfly wings are symmetrical, so maintaining this balance is crucial for an accurate drawing:5dlmdowxula= butterfly.
The Body and Its Components
A butterfly’s body consists of three main parts: the head, thorax, and abdomen. The head houses the sensory organs, including the antennae and eyes. The thorax is the central segment where the wings and legs attach, and the abdomen is the long, slender section at the back. Capturing these details in your drawing will add realism and depth to your drawing:5dlmdowxula= butterfly.
Basic Sketching Techniques
Every great drawing starts with a basic sketch. Lightly sketch the general shape of the butterfly, using simple geometric forms. For example, the body can be represented by an elongated oval, while the wings can be drawn as triangles or ovals. Keeping your initial sketch light and loose will allow you to make adjustments as you refine your drawing:5dlmdowxula= butterfly.
Starting Your Drawing:5dlmdowxula= Butterfly with Simple Shapes
When beginning your drawing:5dlmdowxula= butterfly, it’s essential to start with basic shapes that outline the form. Begin with an oval for the body and large triangles or curved shapes for the wings. These initial lines don’t have to be perfect—they’re just a guide. Focus on getting the proportions right, as this will serve as the foundation for the more intricate details that will follow.
Adding Intricate Details to the Butterfly Wings
Once you’ve established the basic shape, it’s time to add the unique details that make butterflies so captivating.
Designing Symmetrical Patterns
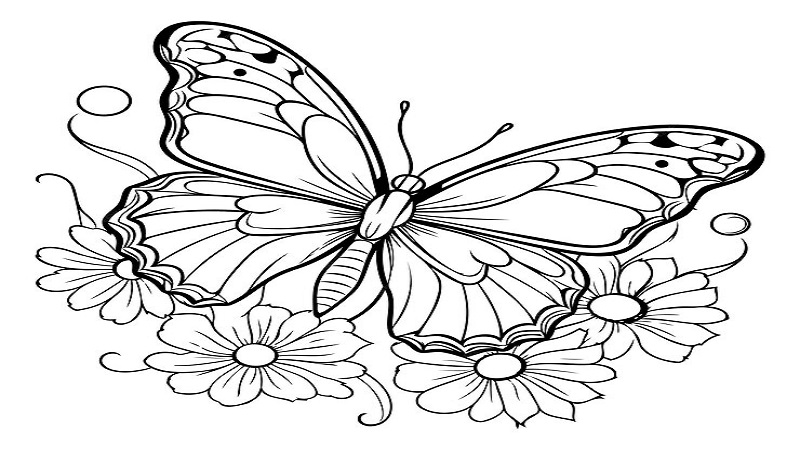
Butterfly wings are known for their symmetrical patterns, which are often complex and highly detailed. Start by lightly sketching the main shapes of these patterns on both wings. As you work, constantly check that both sides are balanced and mirror each other. This attention to symmetry will enhance the overall realism of your drawing:5dlmdowxula= butterfly.
Creating Realistic Textures
The texture of a butterfly’s wings is another critical element. The tiny scales that cover the wings can be represented by using small, fine strokes in your drawing. Vary the pressure of your pencil to create a sense of depth and dimension. This technique will make your drawing:5dlmdowxula= butterfly appear more lifelike and tactile.
Incorporating Color into Your Butterfly Drawing
Color is one of the most striking features of butterflies. The vibrant hues and gradients seen in their wings can truly make your drawing stand out.
Choosing the Right Color Palette
When choosing colors for your drawing:5dlmdowxula= butterfly, refer to your reference image. Butterflies display a wide range of colors, from bright oranges and yellows to deep blues and purples. Selecting the right shades will help you capture the essence of the butterfly you’re drawing. If you’re feeling adventurous, don’t hesitate to experiment with your color choices to create a more stylized or abstract version.
Techniques for Blending Colors
Blending is key to achieving smooth transitions between different colors on a butterfly’s wings. Use colored pencils to layer shades, starting with lighter colors and gradually building up to darker tones. Blend the colors using a blending pencil or a soft cloth to eliminate harsh lines. This technique will give your drawing:5dlmdowxula= butterfly a more polished and cohesive appearance.
Mastering Shading and Highlighting
Shading and highlighting are essential for adding depth and dimension to your drawing. These techniques can help make your butterfly appear more three-dimensional and lifelike.
Enhancing Depth with Shadows
Focus on areas where shadows naturally fall, such as under the wings or along the body. Use a softer pencil, like a 4B or 6B, to create these shadows. Gradually build up the darkness, ensuring a smooth gradient between light and dark areas. Highlighting the tops of the wings and certain parts of the body will contrast with the shaded areas, making your drawing:5dlmdowxula= butterfly pop off the page.
Final Touches for a Polished Drawing
After you’ve completed the main elements of your butterfly drawing, it’s time to add the final touches. Go over your lines to make them more defined, adjust any areas that seem off-balance, and ensure that the colors and shading are consistent throughout. This final refinement will bring your drawing:5dlmdowxula= butterfly to a professional standard.
Common Pitfalls and How to Avoid Them
When drawing butterflies, there are a few common mistakes to be aware of:
- Inconsistent Symmetry: Butterfly wings should mirror each other almost perfectly. Constantly check your drawing for symmetry as you work.
- Overcomplicating Details: While details are important, overdoing them can make your drawing look cluttered. Focus on the most essential patterns and textures.
- Rushing the Process: Patience is key. Take your time with each step to ensure accuracy and quality in your drawing:5dlmdowxula= butterfly.
Inspiration from Famous Butterfly Art
Looking at famous artworks that feature butterflies can provide valuable inspiration. Artists like Salvador Dalí and Damien Hirst have used butterflies in their work, each bringing their own unique interpretation to the subject. Studying these pieces can give you ideas for your own drawing:5dlmdowxula= butterfly, whether you want to pursue a realistic approach or something more abstract.
Conclusion
Drawing a butterfly is not just an exercise in technique, but also a chance to explore symbolism and creativity. By following the steps outlined in this guide, you’ll be well on your way to creating a stunning drawing:5dlmdowxula= butterfly. Remember to take your time, pay attention to detail, and most importantly, enjoy the process. Every stroke brings you closer to mastering the art of butterfly drawing.
FAQ
Q1: What’s the best way to practice drawing butterflies?
A1: Start with simple sketches, focusing on the shape and structure. Gradually add more details and experiment with different techniques until you feel comfortable.
Q2: How can I make my butterfly drawing more realistic?
A2: Pay attention to details like symmetry, shading, and texture. Using a high-quality reference image can also help improve realism.
Q3: What colors should I use for my butterfly drawing?
A3: Choose colors that match your reference image or explore your creativity with unique color combinations. The key is to blend colors smoothly for a natural look.
Q4: How can I avoid smudging my drawing?
A4: Use a piece of scrap paper under your hand while you draw, and work from top to bottom to minimize smudging.
Q5: Where can I find inspiration for butterfly drawings?
A5: Look at famous artworks, nature photography, or even real-life butterflies. Studying different styles and techniques can spark new ideas.