Hello Kitty has charmed the world for decades with her simple yet captivating design. If you’re interested in drawing this iconic character, you’re in the right place! Whether you’re a beginner or an experienced artist, mastering the art of drawing:wi2u7v_j0iq= hello kitty is a rewarding endeavor. In this comprehensive guide, we’ll break down the steps, provide tips, and help you create your own Hello Kitty masterpiece. Let’s dive into the world of Hello Kitty and unleash your inner artist!
The Universal Appeal of Hello Kitty
Hello Kitty, also known as Kitty White, was introduced by the Japanese company Sanrio in 1974. Over the years, she has become a symbol of “kawaii” (cuteness) and a beloved character worldwide. From merchandise to pop culture, Hello Kitty influence is undeniable. But what makes drawing:wi2u7v_j0iq= hello kitty so appealing? It’s her simple yet versatile design that allows fans of all ages to recreate her easily while adding their personal touches. Her round face, tiny features, and iconic red bow are instantly recognizable, making her a fun and accessible subject for artists.
The Essential Tools for Drawing Hello Kitty
Before you start drawing Hello Kitty, gather the necessary tools. You’ll need:
- Pencils: For sketching the outline.
- Eraser: To correct any mistakes.
- Paper: Choose a smooth surface for clean lines.
- Colored Pencils or Markers: To bring your Hello Kitty drawing to life with color.
- Ruler (Optional): For ensuring even proportions.
If you’re a digital artist, you can use drawing tablets or software like Adobe Illustrator or Procreate. Whichever tools you choose, having the right supplies will help you achieve the best results.
Understanding Hello Kitty Proportions
One of the key elements in drawing= Hello Kitty is understanding her proportions. Hello Kitty’s head is larger than her body, which gives her that cute, childlike appearance. Her facial features are also positioned in a way that emphasizes her innocence. By mastering her proportions, you can capture the essence of Hello Kitty in your drawing.
Drawing the Outline of Hello Kitty Head
Begin by sketching an oval shape for Hello Kitty’s head. The oval should be slightly wider than it is tall, as this gives her face a rounded appearance. Lightly draw this shape, as you may need to adjust it later.
Next, draw a horizontal line across the middle of the oval and a vertical line down the center. These guidelines will help you position her facial features accurately. The horizontal line marks where her eyes will go, while the vertical line will guide you in placing her nose.
Drawing Hello Kitty Eyes
Hello Kitty’s eyes are small ovals that sit symmetrically on either side of the vertical guideline. Position them just above the horizontal line. The distance between the eyes should be about the width of one eye. These eyes are a key part of her design, so take your time to make sure they’re evenly spaced and proportionate.
Drawing Hello Kitty Nose
Just below the horizontal guideline, draw a tiny oval for her nose. The nose is smaller than the eyes but centered between them on the vertical guideline. The placement of the nose is crucial to maintaining Hello Kitty’s signature look, so be precise.
Adding Hello Kitty Bow
Hello Kitty’s bow is one of her most iconic features, and no drawing:wi2u7v_j0iq= hello kitty would be complete without it! The bow is placed on her left ear, and it consists of a central circle with two large loops on either side. Draw the bow proportionate to her head; it should be noticeable but not overwhelming.
For extra detail, you can add creases in the loops of the bow to give it a more realistic, three-dimensional appearance. Don’t be afraid to play around with different bow designs—Hello Kitty’s bow can be personalized to reflect your style!
Drawing Hello Kitty Whiskers
Hello Kitty’s whiskers are simple yet essential. She has three whiskers on each side of her face. These whiskers are straight lines that extend out from her cheeks. Make sure they’re evenly spaced and angled slightly upward. The whiskers contribute to her feline charm, so even though they’re simple, they’re important.
Sketching Hello Kitty Body
After finishing the face, move on to drawing Hello Kitty body. Her body is small compared to her head, which enhances her cute appearance. Start by drawing a circle or oval for her torso. Next, draw two rectangles extending from the torso for her arms and two more for her legs. The simplicity of her body design makes it easy to adjust and perfect.
Customizing Hello Kitty Outfit
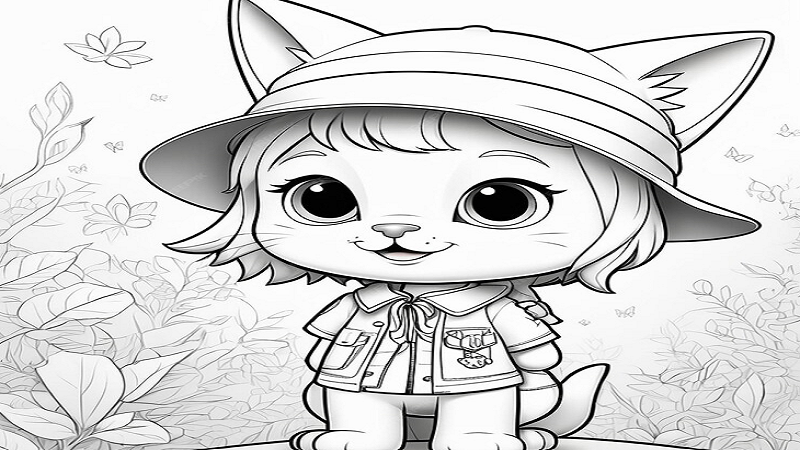
One of the best parts of drawing Hello Kitty is customizing her outfit. While she’s often depicted in her signature overalls, you can dress her up in any outfit you like. Add small details such as a pocket, a heart, or even a dress with a fun pattern. The outfit you choose can reflect your personal style or the theme you want to create.
Adding Color to Your Hello Kitty Drawing
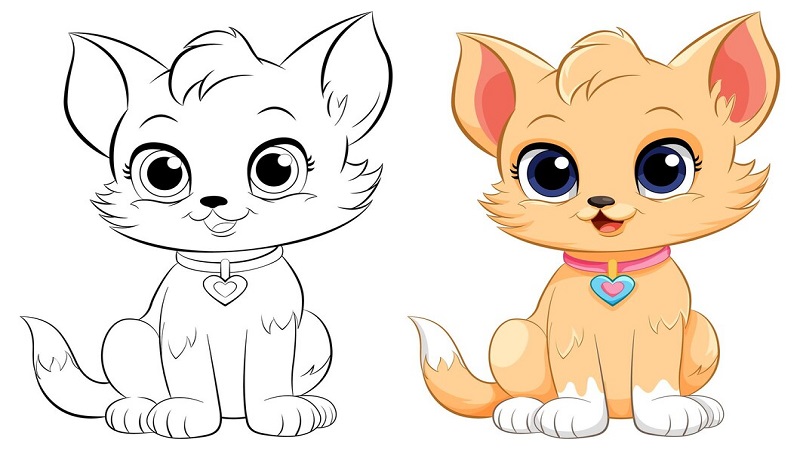
Now that you ve completed the outline, it’s time to add color. Traditionally, Hello Kitty is white with a red bow and yellow nose. However, you can experiment with different colors to give your Hello Kitty a unique twist. For instance, you could change her bow color, outfit, or even make her a different shade entirely. When drawing:wi2u7v_j0iq= hello kitty, the possibilities are endless, so feel free to get creative with your color choices.
Shading and Creating Depth
To make your Hello Kitty drawing stand out, consider adding shading. Lightly shade around the edges of her face, body, and bow to create a three-dimensional effect. You can also add shadows under her whiskers and around her eyes for added depth. Shading helps to bring your drawing to life and makes it look more professional.
Common Mistakes to Avoid in Drawing Hello Kitty
Even though drawing:wi2u7v_j0iq= hello kitty is relatively simple, there are common mistakes that artists should avoid. Here are a few tips to help you steer clear of these pitfalls:
- Misaligned Eyes: Hello Kitty’s eyes should be symmetrical and evenly spaced. If one eye is higher or farther apart than the other, it can throw off her entire look.
- Incorrect Bow Size: The bow should be proportionate to her head. If it’s too big or too small, it can detract from her iconic appearance.
- Overcomplicating the Design: Hello Kitty’s charm lies in her simplicity. Avoid adding too many unnecessary details that can take away from her recognizable design.
By keeping these common mistakes in mind, you can ensure that your Hello Kitty drawing stays true to her classic look.
Practicing Different Expressions
Though Hello Kitty is often depicted without a mouth, you can experiment with different expressions by adjusting her eyes and body language. For example, you can tilt her head slightly or change the size of her eyes to convey different emotions. Drawing Hello Kitty allows you to explore a range of expressions while staying true to her signature style.
Experimenting with Different Backgrounds
Enhance your drawing Hello Kitty by adding a background. Whether she’s standing in a garden, floating among the clouds, or exploring a bustling city, the background can set the scene and add context to your drawing. You can keep it simple or go all out with detailed scenery—either way, the background will bring your drawing to life and make it more engaging.
Incorporating Other Characters
Why not add more fun to your drawing Hello Kitty by including her friends? Hello Kitty’s world is full of adorable characters like My Melody, Badtz-Maru, and Keroppi. Including other characters in your drawing can create a more dynamic composition and tell a story. You can also practice drawing different poses and interactions between the characters, making your artwork even more vibrant.
How to Keep Improving Your Drawing Skills
Like any art form, practice is key to improvement. Set aside time regularly to work on your Hello Kitty drawings. Try different poses, outfits, and scenarios. Over time, you’ll become more confident in drawing Hello Kitty and develop your own unique style. Don’t be afraid to push your boundaries and experiment with new techniques.
Joining Online Communities and Sharing
Sharing your Hello Kitty drawings with others can provide valuable feedback and inspiration. Join online art communities or Hello Kitty fan groups to connect with fellow artists. Social media platforms like Instagram, Pinterest, and DeviantArt are excellent places to showcase your artwork and receive encouragement from a broader audience.
Conclusion
Drawing:wi2u7v_j0iq= hello kitty is a delightful and creative process that allows you to express your artistic abilities while paying tribute to a beloved character. From mastering her proportions to experimenting with different outfits and backgrounds, each step of the drawing process offers opportunities for creativity and personalization. By following the detailed steps outlined in this guide, you’ll be well on your way to creating a charming and unique Hello Kitty drawing that reflects your artistic vision. Enjoy the journey, embrace your creativity, and let your Hello Kitty drawings shine!
FAQs
Q1: What are the basic proportions for drawing Hello Kitty?
A: Hello Kitty’s head is larger than her body, with her eyes placed symmetrically and her nose positioned just below the eyes. Her bow should be proportionate to her head, and her whiskers should be evenly spaced on either side of her face.
Q2: Can I use different colors for Hello Kitty?
A: Yes, you can experiment with different colors for Hello Kitty’s bow, outfit, and accessories. While the traditional colors are white, red, and yellow, customizing her colors can add a unique touch to your drawing.
Q3: How can I add depth to my Hello Kitty drawing?
A: Adding shading around the edges and under certain features like the whiskers and bow can create a three-dimensional effect. Lightly shade and blend to enhance the depth and realism of your drawing.
Q4: What should I do if my Hello Kitty drawing doesn’t look right?
A: Don’t worry! It’s normal to make adjustments. Review the proportions and placement of features, and make corrections as needed. Practice regularly, and you’ll improve over time.
Q5: How can I share my Hello Kitty drawing with others?
A: You can share your artwork on social media platforms, join online art communities, or participate in Hello Kitty fan groups. Sharing your work can provide valuable feedback and connect you with other artists.